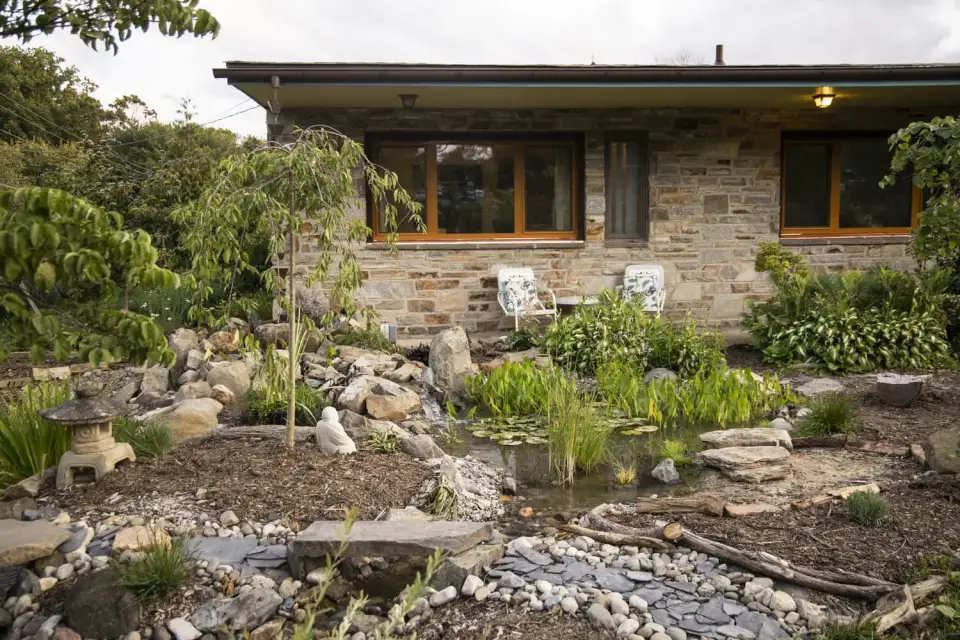
In 2015, Michael Hindle and I purchased a 1954 mid-century modern house in Catonsville, a historic suburb outside of Baltimore, Maryland. This classic house was an architect’s dream and a Passive House consultant’s worst nightmare—an uninsulated house built with locally quarried stone with limited-depth framing cavities for insulation, and a huge, open, stone chimney that penetrates a large, west-facing glass wall. In other words, a beautiful, but enormous, unbroken heat loss fin in an R-2 wall. It was a true test for balancing our skills as artists and technicians.
Despite the major energy challenges posed by the existing conditions, we didn’t—and still don’t—feel this was a bad move for us. The targets set for avoiding catastrophic climate change stipulate achieving 52% carbon emissions reductions, nationally, below 2005 levels by 2030 and Net Zero by 2050. Estimates suggest that 70% of all structures standing in 2050 will be structures that are already standing today. That means that the current building stock must be aggressively retrofitted. Our home allows us to do our part in that heavy lift.
For our home, our part has meant undertaking a deep energy retrofit (DER) that lasted roughly eight years—a tradeoff for doing a DER with no general contractor and only a couple of intermittent helpers and without lots of money (see Phasing and Timeline). This type of DER is not for the weak of heart or for those looking for an instantaneous return on investment (ROI). It is for those who wish to heal the planet and create beauty for themselves and future generations. And, not incidentally, for those who need energy cost savings and can live with a slightly slower ROI. We now save roughly $7,200 per year on our energy bills compared to what the bills were before we started our DER. We also receive about $600 annually in solar renewable energy credits (SRECs), and have received $21,000 in property tax credits. So, in 8 years we’ve saved almost $85,000, which is actually a pretty reasonable ROI.
We hope our trials on our house, as well as our years of expertise in the field, will benefit and encourage all homeowners to do their part. Once property owners understand the goal, they can plot a path toward a DER, and they can get it done by taking on one project at a time.
The House Stats
The house clocks in at 3,937 square feet. At 1,524 square feet, the original footprint is quite modest, with three bedrooms and two baths on the main level. But prior owners finished a covered porch, enclosed a three-seasons room over the entire two-car garage and, you guessed it, finished the full basement into a carpeted mold farm—more commonly known as a family/recreation room—a freezing cold and moldy bathroom and laundry, and two large, subterranean bedrooms.
As one might expect, while one of the prior owners did partially install an interior perimeter drain to deal with bulk water intrusion, there was no effort to control moisture diffusion behind the furred-out drywall and below the carpet pad. The real estate agent seemed to think that this finished basement was a real selling point. We just groaned.
The house was a short sale—sold “as is”—or, in other words, a never-ending nightmare of things failing and breaking. The systems were a rusty mess: there was a natural gas leak, gutters falling off, copper piping with pinhole leaks about to explode, two macerating ejector pumps leaking sewer gas, and a few overloaded circuits here and there.
In addition to these system failures, the classic 1954 aesthetic had been covered by six-panel faux colonial doors, bronze light fixtures, dark paint, and 1990s-dated bathroom and kitchen updates. What had once been a well-tended landscape was now overgrown with English ivy. And, for better or worse, it had a swimming pool with a leaky pump and broken valves, guzzling tons of chemicals.
So why did we buy such a money pit? The house was once a lovely example of mid-century modern residential architecture. The furniture we have collected over the years is all vintage 1950s to ’60s Danish modern; we lean toward Japanese detailing, simplicity, and textures. And we love drinking bourbon out of roly-poly glasses. I drove by this house every day for three years, and at least once a week for 12 years prior. We’ve always loved its uniqueness and lines. When you go inside and see the stone fireplace slicing through a wall of glass with a cathedral ceiling, you’re in genuine mid-century modern design heaven. It also has made a great family home and blank slate for testing and showcasing our ideas for residential retrofits and lawn rewilding.
Existing Conditions
Oversized HVAC Systems
When we first visited the house, it was clear that the furnace and air conditioner (AC) were in tough shape, and the previous owner had disclosed that the mechanicals were only 50% operational. We knew these systems would need to be replaced soon but did not understand the full extent of the problems, nor the urgency with which we would be forced to deal with them.
The original house had two gas furnaces, each rated at 80,000 Btu/h, and about five tons of AC. These systems served a single-zone duct system. Two furnaces and a one-zone duct system? Yup. It was one strange setup.
The addition over the garage was graced with another 50,000 Btu/h furnace and 2½ tons of cooling. With a total of 210,000 Btu/h of heat and 7½ tons of cooling, you might think that we had no problem staying comfortable … but you would be wrong!
Finally, the water heater was a standard-issue gas water heater with a hopelessly rusted flue that was sagging and spilling combustion fumes.
Windows from the 1990s
The windows were Andersen double-pane windows with fiberglass frames from the early 1990s and were definitely starting to show their age. A few window seals were broken and several had non-functioning latches that would not properly close.
There was also a very strange phenomenon that we have never seen before. On a handful of windows, condensation formed in a tidy oval in the middle of the window on the interior surface. Between this very common (in our house) but unusual occurrence, some wavy vinyl siding, and a trash can lid that literally melted on a spring day, we deduced that the window panes were bowing in towards one another, creating concave mirrors for melting the plastic siding and trash-can lids, resulting in colder temperatures at the center of glass rather than at the perimeter!
Air leakage
As one would expect, the house was the furthest thing from airtight. We logged 5,250 cubic feet per minute at 50 pascals of pressure during our blower-door test. In a fascinating twist, the utility incentive program would reward us for improvements, but the auditors and home energy improvement contractors are instructed to recommend cut-and-paste improvements that leave tons of energy and money on the table.
The audit suggested, for example, that our house was 1.27 times leakier than it should be to allow “for proper ventilation!” Air sealing as per the audit recommendation would have only reduced our air infiltration to 4,200 cfm. We have designed and delivered houses almost this large that tested out at 200–300 cfm, around 0.3 ACH50. Needless to say, we went above and beyond these air sealing recommendations, which was absolutely essential to us achieving the energy cost savings that we did. The incentives, while helpful, are not commensurate with our increased ambitions—and unfortunately could mislead some homeowners into doing less than what would be truly effective.
A Big Mold Problem in the Basement
From our first inspection, we knew there was a mold problem in the basement, but we did not know the extent of it. And, that was not the only air quality challenge. High levels of air infiltration and exfiltration combined with frame assemblies built on top of concrete slabs exposed to the exterior (sunroom and garage addition) resulted in focused areas of condensation-related moisture and its biological consequences. Poorly installed and maintained gutters and downspouts and typically poor window installation details led to some problems with bulk water entry into the basement.
Our Goals and Vision
We are a family of five who knew we would be tackling a pretty big project when we bought the house, and cost was definitely a huge issue for us. For better or worse, we tend to make decisions based on quality, performance, and experimentation rather than budget practicality.
Our goal and our challenges on all projects are to find ways to dramatically improve all of the above and to do it in a holistic, sustainable manner within a constrained budget. We are committed to reducing the embodied energy, global warming potential, and embodied toxicity (not to mention acute toxicity to the installers) of our projects, so our collaborative efforts are completely foam-free. As just one example, while spray foams and other foam products are used almost universally in utility-backed home energy improvement programs and, for that matter, in many existing building retrofits, we have figured out how to accomplish them without foam products.
Holistic sustainability is the guiding philosophy of all of our projects. We are looking at every aspect of our built, economic, agricultural, and ecological environment and how the decisions we make affect it. We are taking into consideration impact on the site, efficient use of water resources, healthy indoor air quality, efficient material and resource use, and aggressive energy use reductions. Our house projects are giving us the opportunity to test new products (or new applications of old products) and strategies.
Retrofit Solutions
Air-sealing + Insulation
The main house construction is two layers of drywall over 2x4 framing with 8 inches of exterior stone. The bedrooms are relatively small, so we did not want to build inside; therefore, our walls are what they are but better performing than we found them! From the inside we did the “drill and fill” method with 3.5 inches of blown-in fiberglass and, though not ideal, we’ve designated the drywall as our air-tight layer.
In the wood-frame addition over the garage, we were able to build inside the space, adding an air-tight membrane between the existing frame and the new, filling the first cavity with dense-pack cellulose and the second with batts for an approximate total of R-38.
In the attic, we installed a baffle at the eaves and filled the attic floor with cellulose insulation to R-70 maximum in areas. We are relying on our drywall ceiling as the air-tight layer here as well.
The floor of the dining room, which is over a garage, is a concrete slab that we insulated with 1.5 inches of mineral wool between sleepers and added two layers of Homasote. On the ceiling of the garage, we tacked up 4 inches of Rockwool giving us approximately R-24 total. The slab will unfortunately remain a thermal break at the base of this wall.
Connections
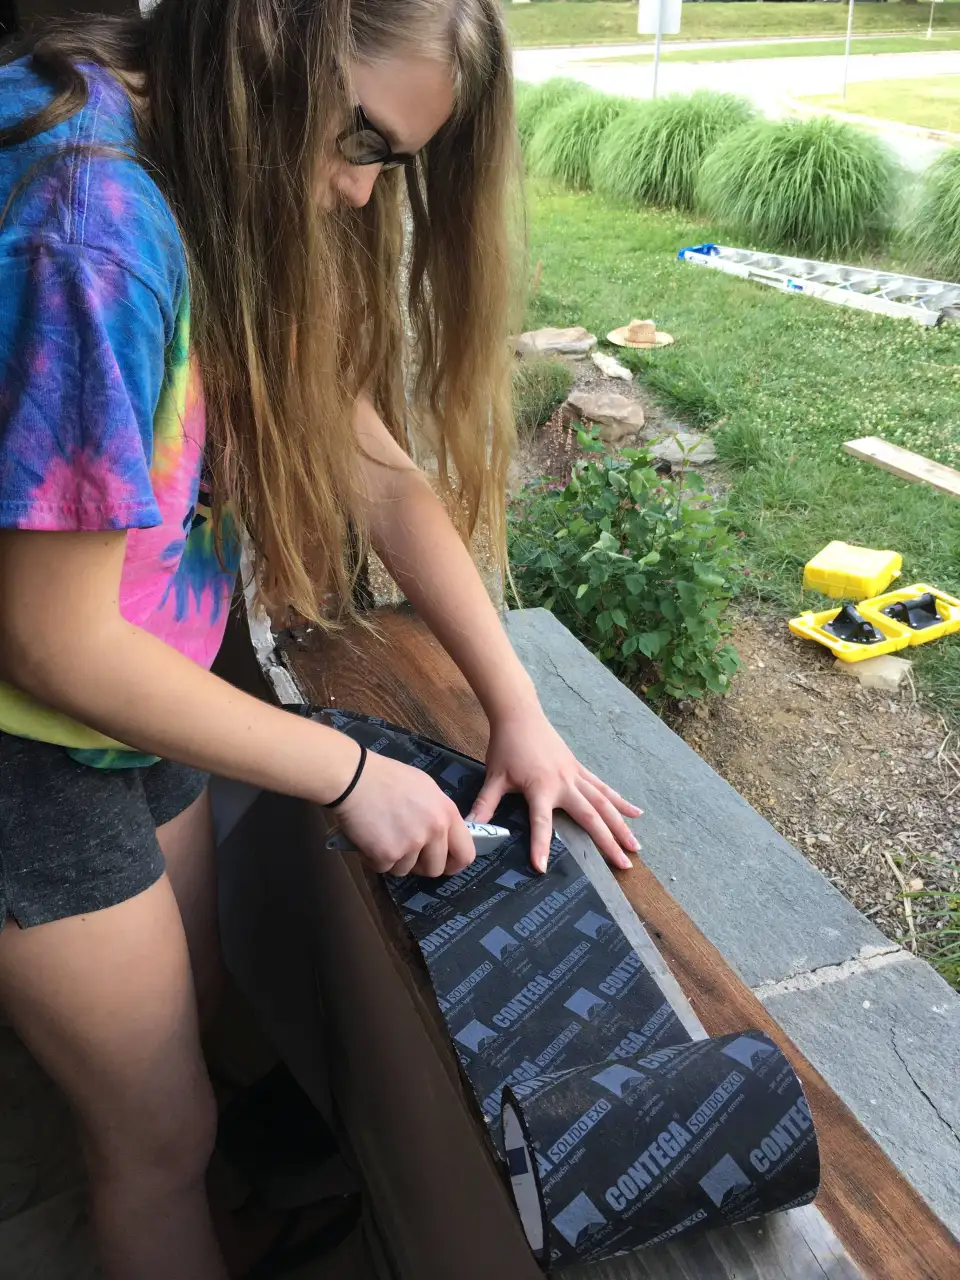
We exposed all the band boards and filled bays with rigid mineral wool insulation, then painted on an acrylic air-seal. Upon receiving an exploded complimentary tub of Delta Liquixx, our insulator crew had the ingenious idea to use the white fabric and paint-on acrylic they use in their “white roof” installs. This ended up being a less expensive and very low-tech option. We employed this same technique at the top of the wall in the attic. I can’t say the installers were thrilled with this work in tiny spaces, but they were on board with making this foam-free.
We also had several connections where we had to seal existing wall intersections that occurred when the original exterior spaces were enclosed by a previous owner. For these stone-to-wood connections we did use the Delta Liquixx, which arrived safely the second time.
Windows + Doors
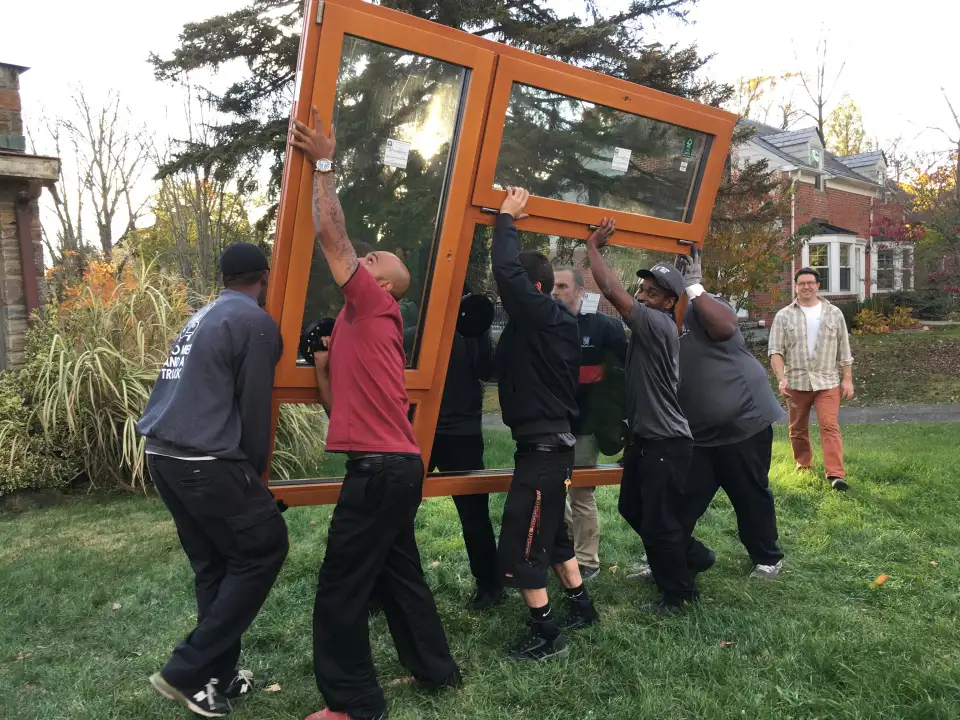
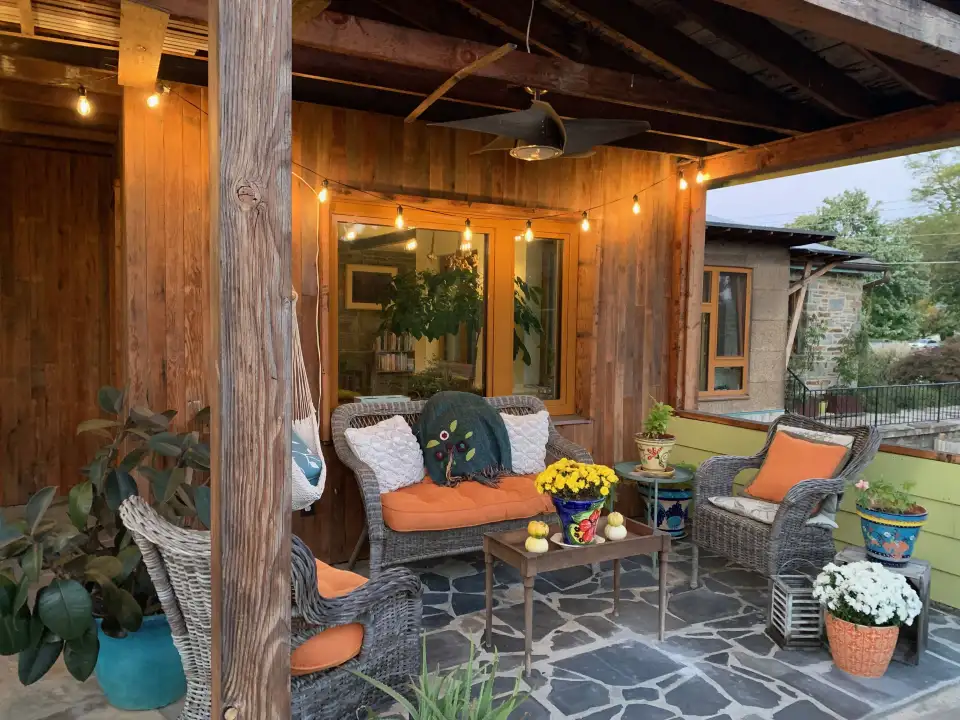
After months of getting quotes from various companies and designing layouts, we ordered our doors and windows from Zola. We waited many, many months for our order, and when they arrived we had to hire five men to off-load them! These babies are heavy! We installed all the doors and windows ourselves over the course of about five years (three stragglers were installed in year seven). I’m not sure how many times I moved those windows from the dining room, to a bedroom, to the hallway until each area was ready to receive the replacement window! Not only can we now sit next to a shaded north-facing window and feel completely comfortable in the winter, but they help enormously with muting noise from our busy road.
Basement Retrofit
Since we did need the rooms in the ‘basement’ to house our daughter and parents full-time, retrofitting these spaces so they were healthy and comfortable was a priority. Not to mention it helps with our overall energy performance. We removed all the finishes from the floors and walls and salvaged the wood framing for reuse. We had three different wall types in the basement - fully below grade, partially, and fully exposed.
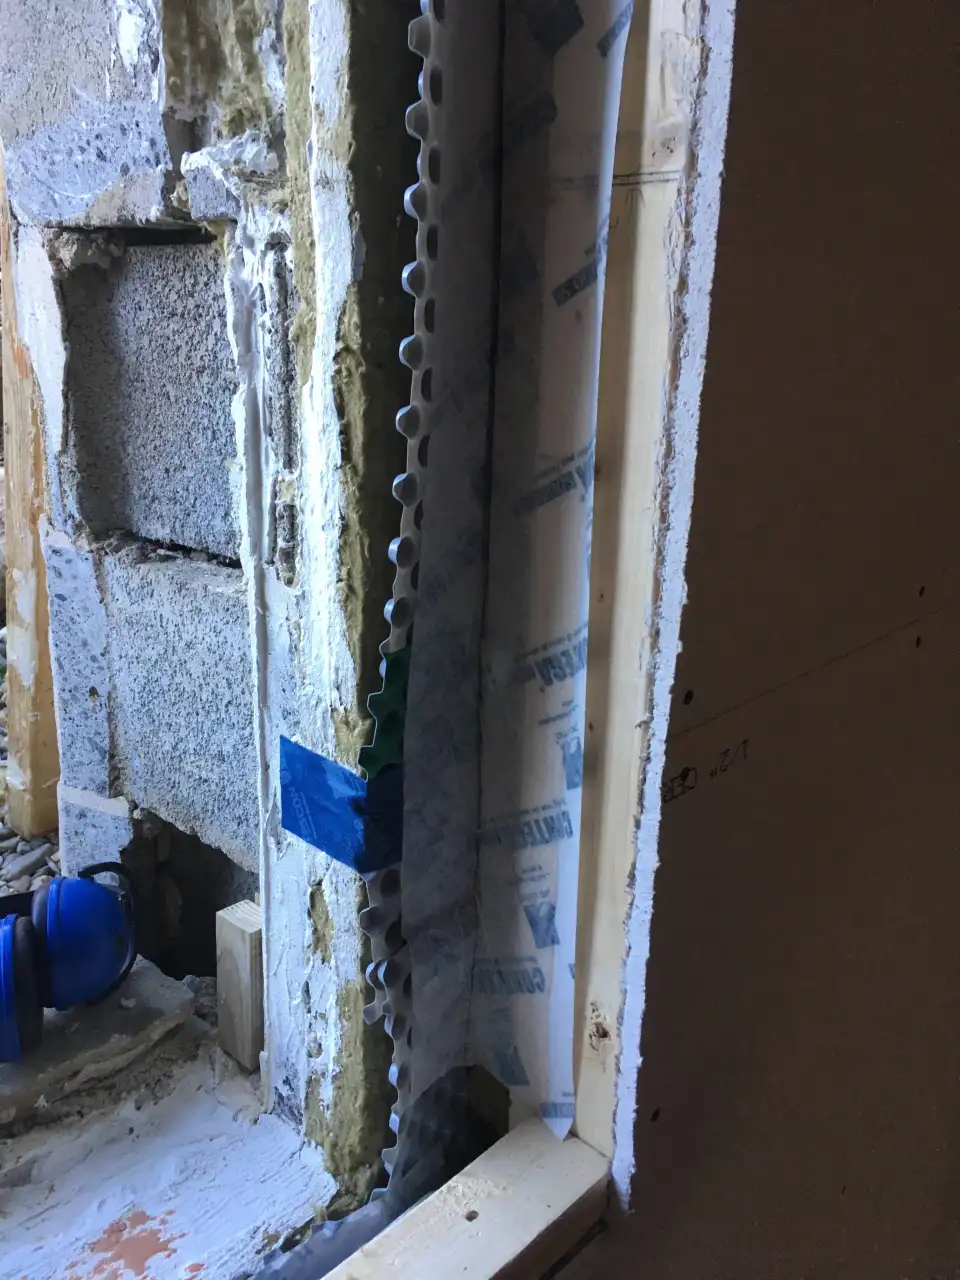
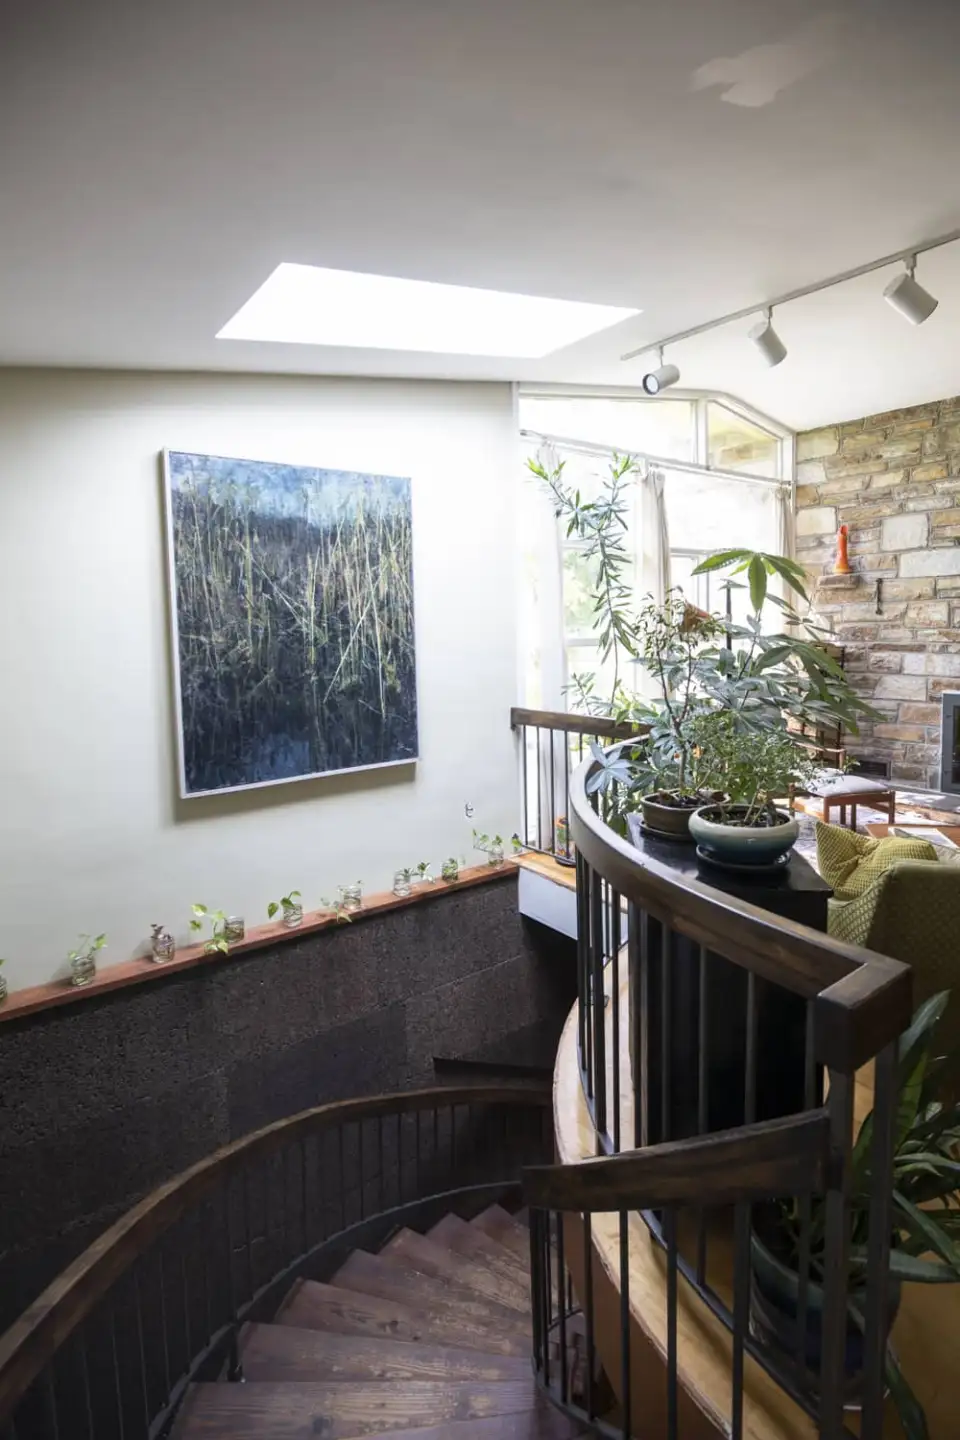
On some of the partial walls, we installed 1.5 inches of rigid mineral wool, dimple board, and then a 2x4 wall that was set off 1.5 inches and filled this cavity with cellulose. The other partial wall we used 4 inches of insulating cork panels over Rockwool between 1.5-inch furring strips over the dimple board instead of a 2x4 wall, which provided both insulation and finish material.
On the fully below-grade wall we used less insulation, and on the fully exposed wall we used an air-tight membrane in lieu of the dimple board.
Ultimately, we safely and completely air-sealed, waterproofed, and insulated all basement walls.
We began our retrofit in the bedrooms and for those floors we laid 1.5 inches of mineral wool between sleepers and floated a tongue-and-groove OSB panel on top. We sanded and sealed the OSB as a finish floor. We find this floor to be a little bouncy and, though we were trying to do as few sleepers as possible, we probably could have used more.
Shortly after finishing these two rooms, we experienced the second 100-year flood in two years. Everything held up incredibly well except for a trickle of water coming in through the unfinished exterior masonry jamb of the new window openings.
This storm event led us to consider developing removable wall and floor panels when retrofitting the basement. This is one reason we did the cork on the opposite wall; it’s simple to screw off the panel, dry it out, check for damage, and screw it back on.
For the floor in the rest of the basement, we built 4x4 panels consisting of a veneer plywood, insulation, and a membrane backer—mainly to contain the mineral wool fibers. These framed panels are biscuited in to each other, and their joints are caulked. The seals and biscuits can be broken to remove the panels in case of flooding.
Heating + Cooling
We replaced the old 7.5 tons of gas-fired rust buckets with a variable speed, zoned 3.5-ton heat pump. Because of morning and evening temperature swings occurring at the ends of the house, we zoned the system as east and west sides. We also eliminated, and recycled, all of the return ductwork and created one central return. We were able to successfully and easily reuse all of our supply ductwork and damper for the zones. Our system now runs very quietly and effectively.
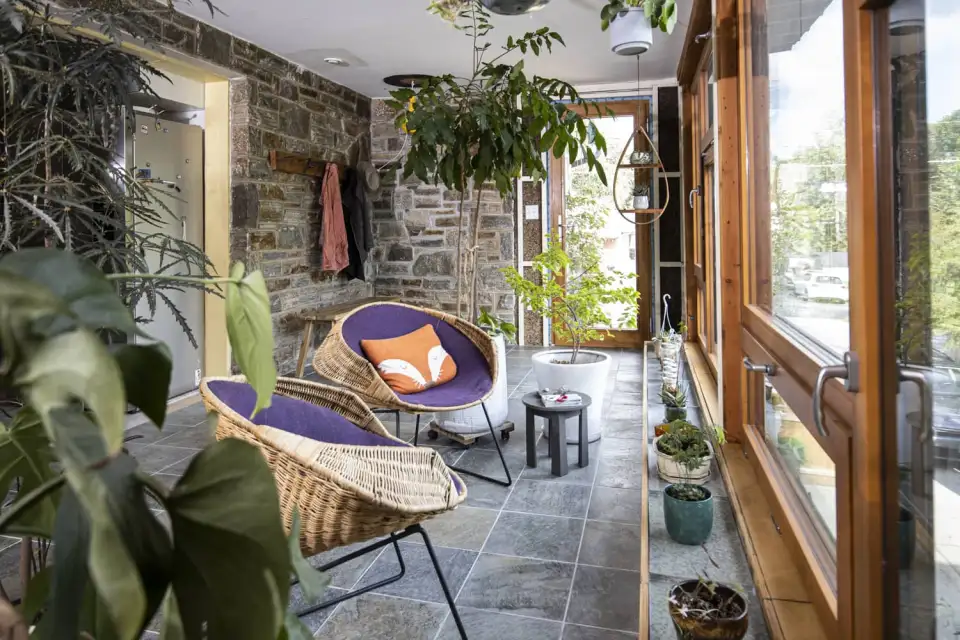
For the addition over the garage and the sunroom we added a 1-ton wall-mounted mini-split to heat and cool these spaces, which we rarely need to turn on.
ERV
Given the tightness we achieved with our house, and for general exhaust and fresh air purposes, we added an ERV. We located the ERV in an airtight insulated hut in the attic, and the ducts run through the loose cellulose into each room and down an existing chase to the basement. None of the bathrooms had exhaust fans, so we exhausted each bathroom and the kitchen. We hope to soon replace our ERV with a newer, variable-speed model that gives us a bit more CFMs and can be boosted while cooking or using the wood stove.
Electrification
In the course of our retrofits, we replaced a gas stove with an induction cooktop and electric oven, and the gas water heater and gas furnace with new electric equipment, thus eliminating any need for gas to the house. We also installed a very small wood stove in the basement fireplace opening that can heat the entire house without any use of electricity. At some point, the utilities were updating the gas lines along our street, and they were surprisingly more than happy to cut our line at the street!
Shading Devices
As part of our retrofit and goal to reduce energy use, we extended the south overhang at our sunroom, built an overhang over our east facing side door, and created planted trellises on east windows and planted many trees for east and west sun shading.
Solar
We have a 10.2-kW system on our roof, which allows us to be Net Zero, even with an electric car and two adults working from home. Not bad for a stone house built in 1954!

Phasing and Timeline
If I had to guess, very few of us have the means to complete a home retrofit in one fell swoop. We certainly didn’t. We’ve been working on our DER for eight years, and we are maybe 90% of the way done. The big tasks are generally complete—the ones that make a difference in our energy use and health. We still can’t quite get that basement floor slab retrofit complete or the ceilings painted, doors on the closets, quarter round at the new floors, filling in missing deck railing, etc. And the list keeps getting longer! Let’s convert the pool house into a greenhouse / off-grid guest house, and of course, Michael will not rest until the pool is converted to a natural swimming hole!
It’s an overwhelming adventure to be a homeowner. It takes dedication and time to create a place that is safe, self-sufficient, resilient, and beautiful. However, there are some general rules of thumb to prioritize and separate out project chunks to make the life of a home retrofitter a little easier.
I can’t say we 100% stuck to our prioritized list. Sometimes life throws you curve balls that we need to be prepared for. Preparation includes having a Master Design Plan that allows you to know your goals and vision so that you make informed decisions when life steps in unpredictably.
We were lucky to have the resources that allowed us to create at no cost an energy model and architectural plans. We understand that energy modeling may not be a service that everyone has easy access to, but creating an overarching plan is very important. Through our energy modeling, we were able to target a predicted energy use number after retrofit, so when our heating and cooling system went out six months after moving in, and therefore bumped itself up to Phasing Step No. 2, we were able to right-size a new system for our smaller, future loads.
Here's a general timeline of our DER thus far:
04/15: Move-in
08/15 - 7/21: Retrofit and renovate sunroom, dining room, and back porch
10/15: New HVAC install
09/15 - 04/17: Retrofit and renovate basement bedrooms, bathroom, and laundry room
02/16: Heat pump water heater replacement
06/16: Insulate and air seal attic and walls
10/16: Window delivery; complete installation in 2022
04/17: Solar install
02/19 - Present: Adding slab insulation in remaining portion of basement